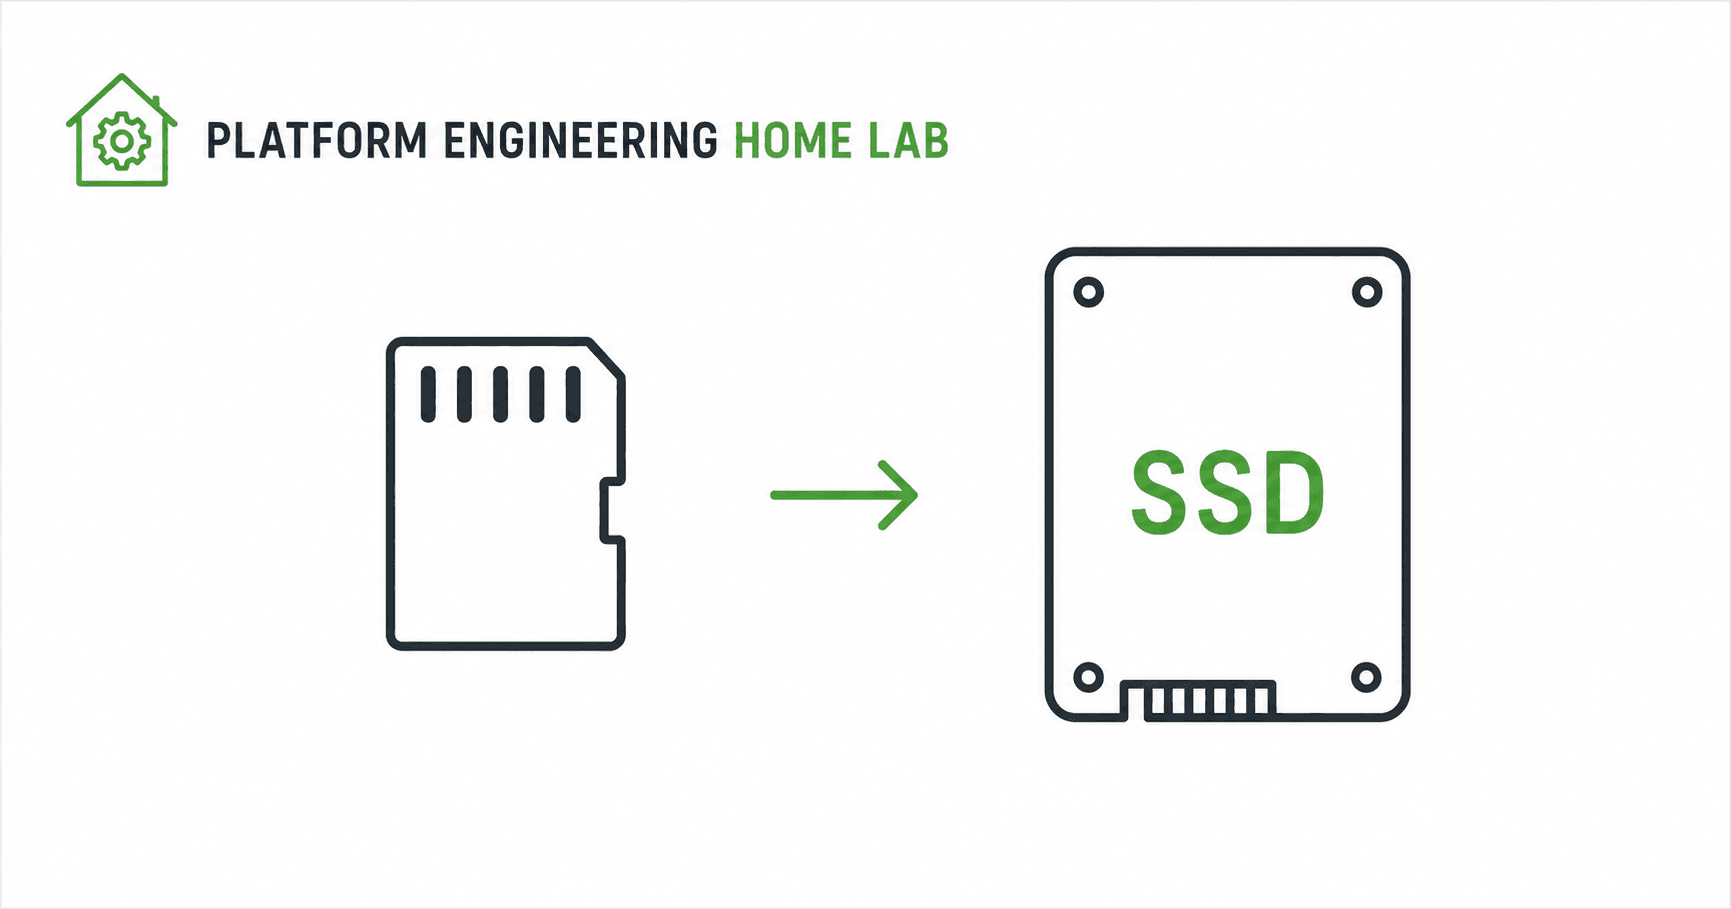
From microSD to SSD Boot on Raspberry Pi 4
The "simple" first step — flash an OS, boot from SSD, configure SSH — turned into a four-hour debugging session involving a JMicron USB controller, a malformed kernel parameter that produced a grey screen, and a trailing newline in a config file that broke the boot entirely. This post covers the full Pi 4 SSD boot setup: the JMicron quirks fix that takes read speed from 127 kB/s to 303 MB/s, why rpi-clone silently gets the PARTUUID wrong, and why cat -A is now in my standard toolkit after every config file edit.
Why I'm doing this
I'm an IT Infrastructure Support engineer transitioning into platform engineering. So I decided to put together a permanent home lab that mirrors, in miniature, the kind of infrastructure I believe platform teams actually run. This totally from a beginner's perspective.
The plan over the next days:
Foundation: Pi setup, K3s, private registry, networking, Terraform with a Makefile wrapper, CI/CD
GitOps with Flux CD
OpenTelemetry observability layer aligned with the OTCA certification syllabus
Every project I build from now on lives on this Pi. It's my permanent lab.
What I set out to do today
The first step seemed simple: get a Raspberry Pi 4 running Raspberry Pi OS Lite, booting from a USB SSD instead of a microSD card, with SSH key authentication configured for passwordless access from my laptop.
What actually happened was a four-hour debugging session that taught me more about USB controllers, kernel parameters, and partition UUIDs than I expected.
The hardware
Raspberry Pi 4 Model B (4GB)
Intenso External SSD 256GB Premium
32GB Samsung microSD (used only for initial setup, removed at the end)
Geekworm aluminium passive case
Wired keyboard, mouse, and a portable monitor for setup
Ubuntu laptop for SSH and flashing
I want to call out one decision specifically. I went back and forth between getting the Argon ONE M.2 case with an internal SSD versus using my existing Geekworm case with a USB SSD. The Argon ONE is the "proper" permanent setup — internal M.2 drive, active cooling, cleaner form factor. But it would have cost €90+ more.
I chose the budget path: keep the Geekworm case, use a USB SSD for now, plan to migrate to the Argon ONE in 12-18 months. The learning value is identical regardless of which case the SSD is in. Don't let perfect be the enemy of started.
Phase 1: The Imager problem
I started by flashing Raspberry Pi OS Lite (64-bit) to the microSD using Raspberry Pi Imager on Ubuntu.
Imager's "OS customisation" feature is supposed to let you pre-configure hostname, SSH, username, and password before flashing — so the Pi boots ready to use without monitor and keyboard.
It didn't work for me. Twice.
I followed the documented flow: EDIT SETTINGS → fill in → SAVE → YES to apply → YES to overwrite. The flash completed, I put the card in the Pi, booted it — and the Pi prompted me for a new username and password as if no customisation had been applied at all.
I attempted a manual workaround: flash a clean image, then create ssh and userconf.txt files on the boot partition myself. That didn't work cleanly either.
In the end, the fastest path forward was to plug a keyboard and monitor into the Pi and just go through the first-boot wizard interactively. 30 seconds and I had a working system.
Lesson: When a tool that's supposed to save you time isn't working, sometimes the most productive thing is to abandon it. Don't burn an hour debugging a convenience feature.
Phase 2: Enabling SSH
After completing the first-boot wizard, I tried to SSH from my laptop and got:
ssh: connect to host 192.168.0.249 port 22: Connection refused
SSH wasn't enabled by default. Easy fix from the Pi console:
sudo systemctl enable ssh
sudo systemctl start ssh
sudo systemctl status ssh
From this point on, I could disconnect the keyboard, mouse, and monitor and work entirely over SSH from my laptop. Much faster.
Phase 3: Setting up USB boot from SSD
This is where the real adventure began.
The Pi 4 can boot from USB devices, but two things have to be in place:
The bootloader firmware needs to be configured to look for USB before microSD
The USB device needs to be detected reliably during early boot
Step 1: Update the bootloader and set USB boot priority
sudo apt update && sudo apt full-upgrade -y
sudo rpi-eeprom-update -a
sudo raspi-config
In raspi-config: Advanced Options → Boot Order → B2 USB Boot.
Verifying:
sudo rpi-eeprom-config
Output included BOOT_ORDER=0xf14, which reads right-to-left:
4= USB mass storage1= SD cardf= retry forever
So the Pi will try USB first, then fall back to SD card, then loop. Exactly what a permanent SSD setup needs.
Phase 4: The JMicron problem
I plugged the Intenso SSD into a blue USB 3.0 port, ran lsblk, and saw the drive appear as /dev/sda with 238.5GB of capacity. So far so good.
Then I ran a speed test:
yvette@newerkey-lab:~ $ sudo apt install -y hdparm
yvette@newerkey-lab:~ $ sudo hdparm -t /dev/sda

/dev/sda:
 Timing buffered disk reads: 4 MB in 32.19 seconds = 127.23 kB/sec
127 kilobytes per second. That's roughly a thousand times slower than a working USB 3.0 drive should be. At that rate, copying a 4GB OS image would take about nine hours.
I checked dmesg and found the issue. The Intenso SSD uses a JMicron USB-to-SATA controller:
yvette@newerkey-lab:~ $ sudo dmesg | grep -i sda
[546.122668] usb 2-2: new SuperSpeed USB device number 2 using xhci_hcd
[546.140093] usb 2-2: New USB device found, idVendor=152d, idProduct=0579
[546.140131] usb 2-2: Product: Portable SSD
[546.140142] usb 2-2: Manufacturer: Intenso
[546.685838] sd 0:0:0:0: [sda] 500118192 512-byte logical blocks: (256 GB/238 GiB)
[546.770965]  sda: sda1 sda2
[546.771605] sd 0:0:0:0: [sda] Attached SCSI disk
JMicron controllers have a long history of incompatibility with USB Attached SCSI (UAS) on Raspberry Pi 4. The fix is a kernel parameter that disables UAS for the specific drive ID:
usb-storage.quirks=152d:0579:u
Source: James A. Chambers' Raspberry Pi USB Boot Config Guide
The :u flag tells the kernel to ignore UAS and fall back to standard USB mass storage protocol — slower theoretical maximum, but actually functional with JMicron controllers.
The first cmdline.txt mistake
The quirks parameter goes into /boot/firmware/cmdline.txt, which is a single-line file containing all the kernel boot parameters.
I edited it with nano and added the quirks parameter. Saved, rebooted, and the Pi never came back online. SSH timed out with "No route to host".
Plugged a monitor in. Grey screen. No boot text, no kernel messages, just grey.
Pulled the microSD out, put it in my laptop, ran:
cat /media/yvette/bootfs/cmdline.txt
The line read:
usb-storage.quirks=152d:u console=serial0,115200 console=tty1 root=PARTUUID=543ddb0d-02 rootfstype=ext4 fsck.repair=yes rootwait
I'd typed 152d:u instead of 152d:0579:u. The kernel was receiving a malformed quirks parameter and bailing out during early boot before it could even display kernel messages.
Fixed the typo, saved, put the card back in the Pi, booted again. This time I checked the file with cat -A to see hidden characters:
cat -A /boot/firmware/cmdline.txt
The -A flag shows newlines as $. Critical because:
The cmdline.txt must be exactly one line. Any line break anywhere will break boot.
The output showed two \( signs — one at the end of my line, and another on its own. nano had introduced an extra blank line at the end of the file. Removed it, verified one \), rebooted.
This time the Pi came back up. SSH worked. Speed test:
yvette@newerkey-lab:~ $ sudo hdparm -t /dev/sda

/dev/sda:
 Timing buffered disk reads: 912 MB in 3.01 seconds = 303.39 MB/sec
303 megabytes per second. Healthy USB 3.0 performance. The quirks fix was working.
The before-and-after is dramatic:
| State | Read speed | Ratio |
|---|---|---|
| Without quirks fix | 127.23 kB/sec | baseline |
| With quirks fix | 303.39 MB/sec | ~2,380× faster |
Phase 5: Cloning microSD to SSD
With the SSD performing properly, I could clone the running OS from microSD onto the SSD. The community tool rpi-clone handles this cleanly:
sudo apt install -y git
git clone https://github.com/billw2/rpi-clone.git
cd rpi-clone
sudo cp rpi-clone rpi-clone-setup /usr/local/sbin/
Source: rpi-clone GitHub repository
Then I wiped the SSD's existing partition table (it had a stale Pi OS Desktop image from an earlier failed attempt):
sudo wipefs -a /dev/sda
Source: wipefs manpage
And cloned:
sudo rpi-clone sda
The clone took under two minutes thanks to the 303 MB/sec USB 3.0 speeds.
The PARTUUID problem
After cloning, I expected the SSD to be an exact copy of the microSD's running system. I mounted the SSD's boot partition to verify cmdline.txt:
sudo mount /dev/sda1 /mnt/ssd-boot
cat /mnt/ssd-boot/cmdline.txt
The line still referenced root=PARTUUID=543ddb0d-02 — the microSD's root partition PARTUUID. If I booted from the SSD with the microSD removed, the kernel would look for a partition that didn't exist and drop into initramfs.
I checked the SSD's actual PARTUUID with blkid:
sudo blkid
Output showed the SSD's root partition was actually 6692b3d6-02. So the cmdline.txt was pointing at the wrong device entirely.
Lesson: rpi-clone is supposed to update cmdline.txt automatically, but it doesn't always do so reliably. Always verify the PARTUUID matches the destination device after cloning.
I edited the SSD's cmdline.txt to use the correct PARTUUID:
sudo nano /mnt/ssd-boot/cmdline.txt
Changed root=PARTUUID=543ddb0d-02 to root=PARTUUID=6692b3d6-02. Verified with cat -A again — one line, one $ at the end.
I also checked /etc/fstab on the SSD's root partition. Fortunately rpi-clone had updated that one correctly — it already pointed at 6692b3d6-01 and 6692b3d6-02.
The swap
Shut down cleanly:
sudo shutdown -h now
Waited for the green LED to stop flickering. Unplugged power. Removed the microSD card. Confirmed the SSD was still plugged into a blue USB 3.0 port. Plugged power back in.
60 seconds later, SSH connected from my laptop:
yvette@laptop:~$ ssh yvette@ip-of-raspberrypi
yvette@newerkey-lab:~ $
Verification:
yvette@newerkey-lab:~ $ findmnt /
TARGET SOURCE    FSTYPE OPTIONS
/      /dev/sda2 ext4   rw,noatime
Booting from SSD. No more microSD in the system.
yvette@newerkey-lab:~ $ df -h
Filesystem      Size  Used Avail Use% Mounted on
/dev/sda2       234G  4.2G  218G   2% /
/dev/sda1       511M   67M  445M  14% /boot/firmware
234GB root filesystem, 218GB available. Three orders of magnitude more storage than the original microSD setup, with significantly more reliable continuous-write endurance.
Phase 6: SSH key authentication
Final task was switching from password authentication to SSH keys on your laptop's terminal, not the raspberry-pi.
Already had a key pair on my laptop (~/.ssh/id_ed25519), so:
- If you do not have it, create a new one
ssh-keygen -t ed25519 -C "yourpreferedname"
ssh-copy-id -i ~/.ssh/id_ed25519.pub yvette@ip-of-raspberrypi
One last password prompt, then tested:
ssh yvette@ip-of-raspberrypi
Passwordless login confirmed.
Source: ssh-copy-id manpage
What this actually taught me
The "happy path" version of this day would have taken maybe 90 minutes. Mine took four hours.
But every detour was an actual lesson:
USB controllers matter. Not all SSDs work the same on Raspberry Pi. The JMicron quirks fix is one of those things you only learn by needing it. Now I know to check lsusb and dmesg for the actual controller vendor ID before assuming a drive will work.
Source of truth beats tutorials. Every time I found myself stuck, the answer was in the official Raspberry Pi documentation, the kernel parameters reference, or the source GitHub repo of the tool I was using. Random Stack Overflow answers often gave outdated or wrong fixes. I've started keeping a sources.md file with bookmarked official docs for every tool in the lab.
Verify your assumptions explicitly. I assumed rpi-clone would update cmdline.txt correctly. It didn't. I assumed nano would save cmdline.txt as a single line. It didn't. Now I run cat -A after every config file edit to verify there are no hidden characters or extra newlines.
Hidden characters break systems. A single trailing newline in cmdline.txt is the difference between a working Pi and a grey screen. cat -A is now in my standard toolkit.
The fast path forward is sometimes abandoning the tool. I burned time trying to make Imager's OS customisation work. The 30-second interactive first-boot wizard solved the same problem instantly.
What's running now
Raspberry Pi 4 Model B (4GB)
└── Raspberry Pi OS Lite (64-bit), fully updated
    └── Booting from /dev/sda2 (Intenso 256GB USB SSD)
        ├── Read speed: 303 MB/sec
        ├── Storage: 234GB total, 218GB available
        └── usb-storage.quirks=152d:0579:u applied

Hostname: newerkey-lab
SSH: key-based authentication only
The foundation is in place. Permanent lab ready.
Sources:
If you're following along or doing your own Pi 4 SSD boot setup, the rpi-imager guide on the official Pi site is the right starting point. If you hit JMicron compatibility issues, check lsusb for your drive's vendor:product ID and apply the appropriate usb-storage.quirks parameter.